When you start learning programming, the first thing you need is the right setup. That means two things:
- The language itself (Python), which is how you’ll give instructions to the computer.
- A workspace (Visual Studio Code, or VS Code), which is the place where you’ll write and run those instructions.
In this guide, you’ll get both installed and ready to go. Along the way, you’ll create your very first program — the classic “Hello, world!” — so you can see Python in action. By the end, you’ll have everything you need to start following tutorials, experimenting, and learning to code.
Step 1: Install Python
Python is the language we’ll be using.
- Go to python.org/downloads.
- Download the latest version of Python 3 for your computer (Windows, Mac, or Linux).
- Run the installer.
- On Windows: Tick the box that says “Add Python to PATH” before clicking Install.
Check it worked:
- Open the small black window called Command Prompt (on Windows) or Terminal (on Mac/Linux).
- Type:
- Windows:
python --version - Mac/Linux:
python3 --version
- Windows:
- You should see something like
Python 3.12.0. If you do, Python is ready.
Step 2: Install Visual Studio Code (VS Code)
Now that your computer understands Python, you need a place to write your code. That’s where VS Code comes in.
- Go to code.visualstudio.com.
- Download VS Code for your computer.
- Install it (just keep clicking Next if unsure).
- Open VS Code when it finishes.
Step 3: Add Python Support to VS Code
By default, VS Code doesn’t “speak” Python. We’ll add a little extension to fix that.
- In VS Code, look at the icons on the left-hand side. Click the one with four squares (Extensions).
- In the search bar at the top, type Python.
- Click on the Python extension by Microsoft and press Install.
Now VS Code knows how to run Python programs.
Step 4: Create Your First File
It’s a good habit to keep your projects in their own folder.
- On your computer, create a folder called learn-python.
- In VS Code, click File → Open Folder… and choose learn-python.
- Inside VS Code, click File → New File, and name it:
hello.py
Step 5: Write Your First Program
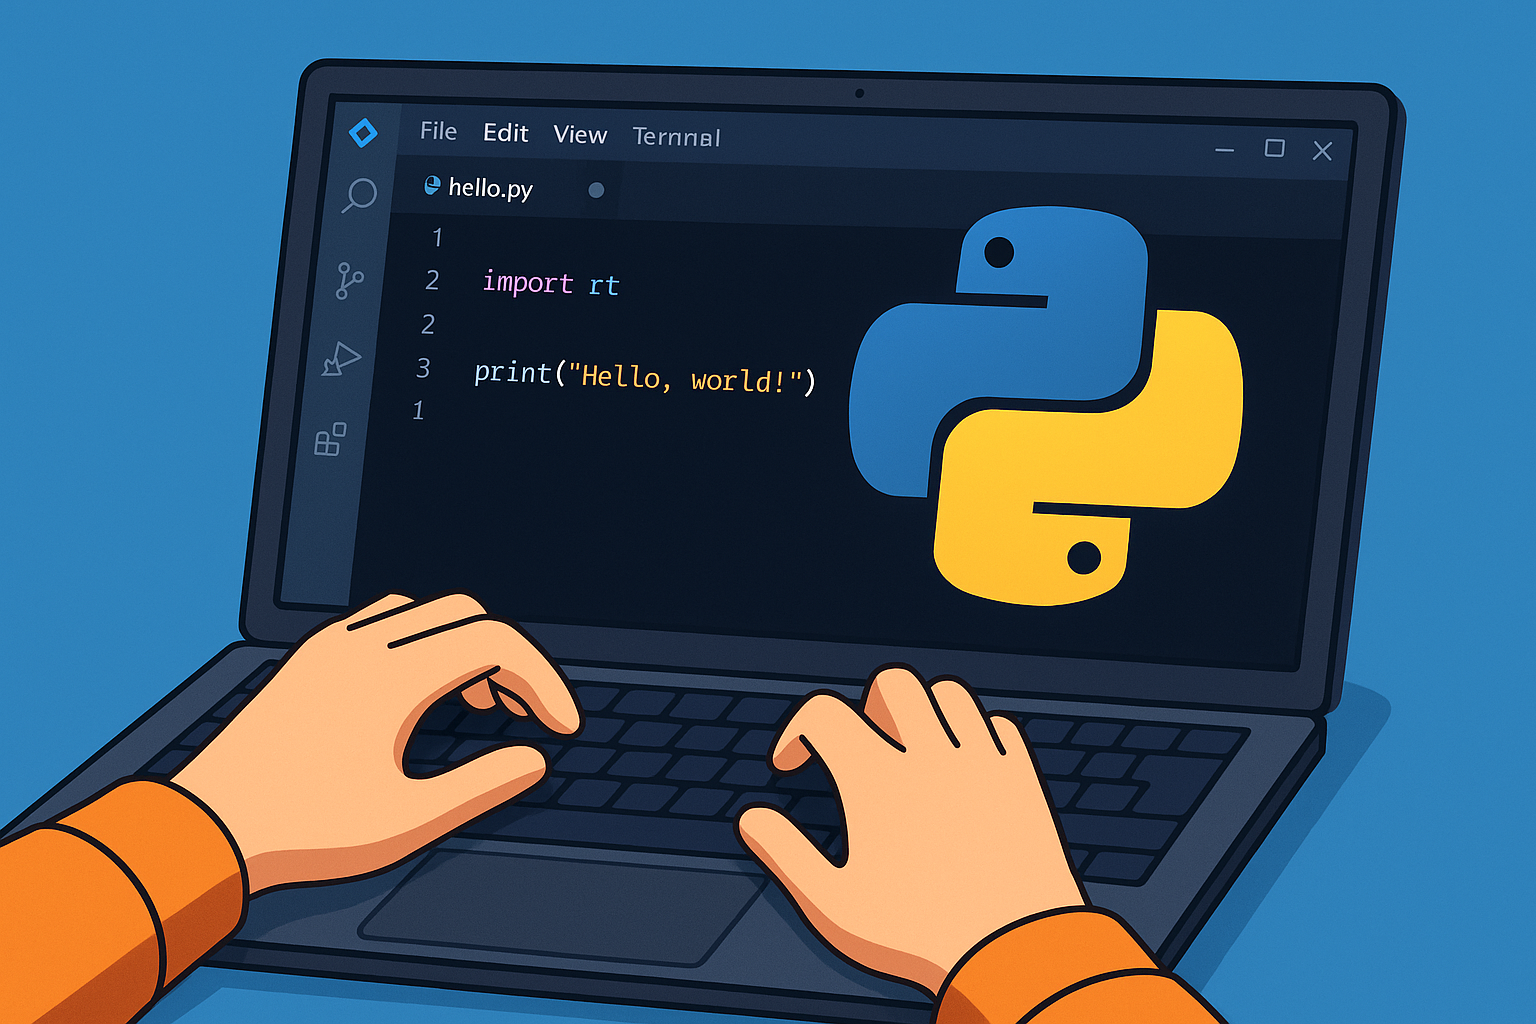
In your new file (hello.py), type this line exactly:
print("Hello, world!")This short instruction tells Python to display some text on the screen.
Step 6: Run Your Program
Now let’s see it work.
- In VS Code, look at the top right of the editor window. You’ll see a little play button (▶).
- Click it.
- At the bottom of the screen, you should see:
Hello, world!
🎉 Congratulations — you’ve just written and run your very first Python program!
Step 7: Experiment
Try changing the message inside the quotes. For example:
print("Hello, LiddleBit!")Run it again and watch the new message appear.
What’s Next?
That’s all you need to begin. You now have Python installed, VS Code set up, and you know how to write and run a simple program.
From here, you can follow tutorials, play with code, and explore more features — but you’ve already taken the most important step: getting started!