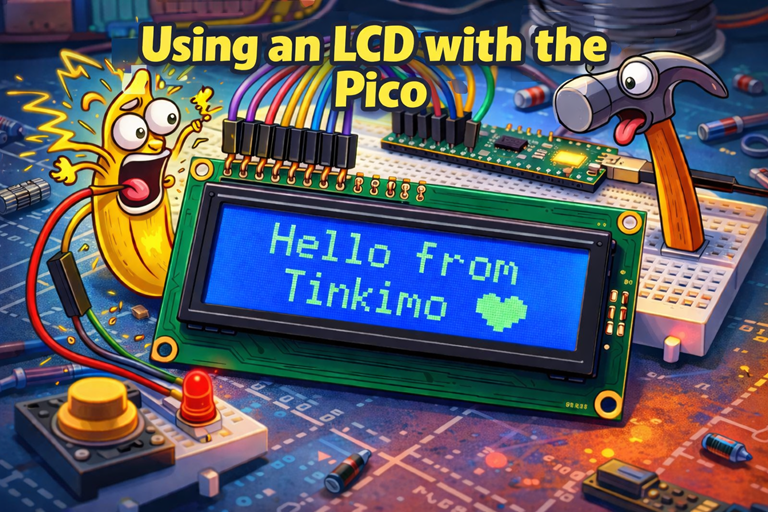
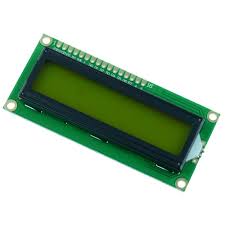
Using an LCD with the Pico is a popular way to add simple text output to Raspberry Pi Pico projects. A common choice is an HD44780-compatible character LCD, which can display letters, numbers, and basic symbols in rows and columns, such as a 16×2 layout. This type of LCD with the Pico is ideal for showing messages, sensor values, menus, or system status information.
When connecting an LCD with the Pico, the Pico uses its GPIO pins to send instructions and character data to the display. The Pico does not draw characters pixel by pixel. Instead, it tells the LCD which characters to show and where to place them on the screen, while the LCD’s built-in controller handles the display logic.
An LCD with the Pico is controlled using a small number of signals. Some GPIO pins are used to send character data, while others are used for control tasks such as selecting between commands and text, or telling the LCD when to read incoming data. This simple communication method makes character LCDs a good choice for beginners working with the Pico.
To make using an LCD with the Pico as easy as possible, most projects use the display in 4-bit mode. This reduces the number of GPIO pins required and simplifies wiring. With MicroPython or C libraries available for the Pico, setting up and using an LCD becomes straightforward, allowing you to focus on your project rather than low-level display control.
Wire up the circuit
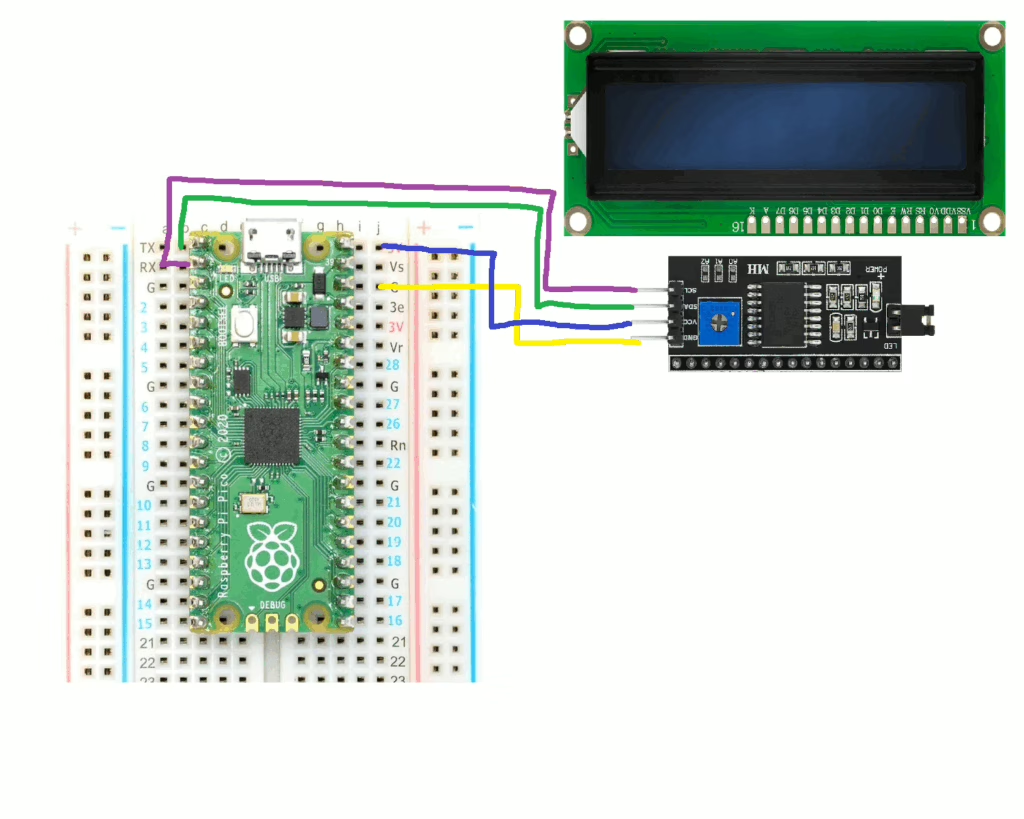
In order to run the project firstly the HD44780 LCD display needs to be connected as shown in the diagram below. The circuit diagram below is shown for clarity and the actual connection on the breadboard follow.
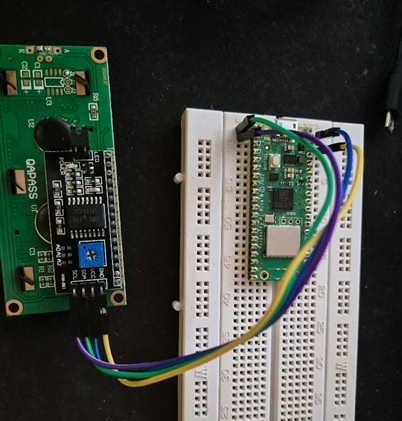
The circuit looks as shown below on the set up that was used to create this tutorial.
Running the Code
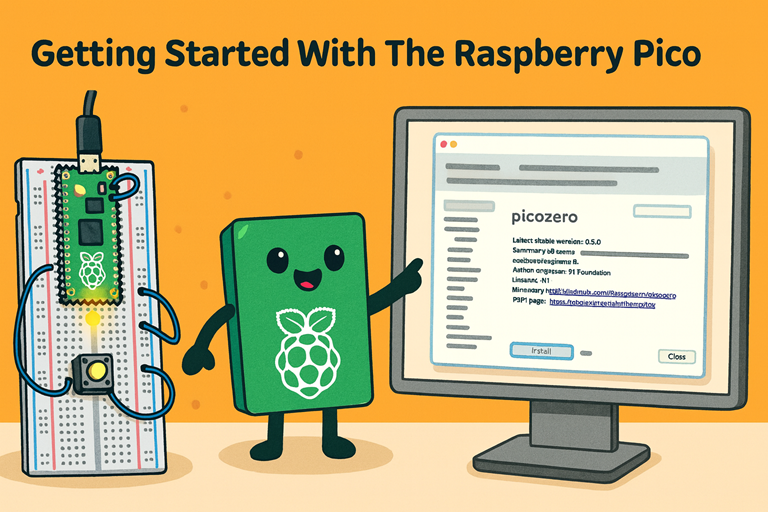
In order to get started you will need to follow this tutorial, which will ensure that your environment and Pico are configured correctly.
You will need to create 2 files on the Raspberry Pico to help control the LCD display. Download the file here and save it as lcd_api.py, then download the file here and save it as pico_i2c_lcd.py.
Now create a file called main.py on the Raspberry Pico with the following content.
from machine import Pin, I2C
from pico_i2c_lcd import I2cLcd
from time import sleep
I2C_ADDR = 0x27
I2C_NUM_ROWS = 2
I2C_NUM_COLS = 16
i2c = I2C(sda=Pin(0), scl=Pin(1), freq=400000)
lcd = I2cLcd(i2c, I2C_ADDR, I2C_NUM_ROWS, I2C_NUM_COLS)
while True:
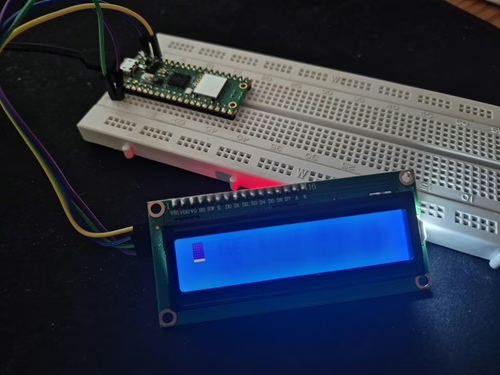
lcd.blink_cursor_on()
lcd.clear()
sleep(1)
lcd.blink_cursor_off()
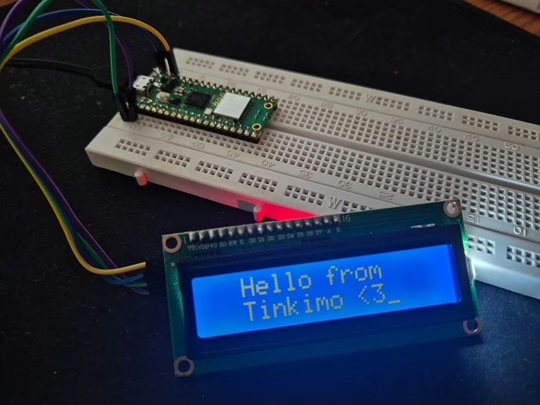
lcd.putstr(" Hello from")
lcd.move_to(0, 1)
lcd.putstr(" Tinkimo <3")
sleep(1)
Next, click the run button and the display should toggle between a flashing cursor and “Hello from Tinkimo <3” every second as shown below.